Signed in as:
filler@godaddy.com
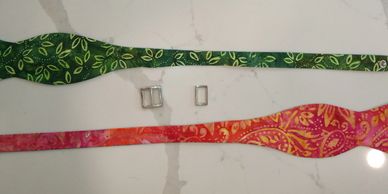
Pick the bow and knot colors.
In this example the bow will be green and the knot will be pink/orange.
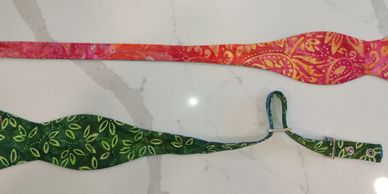
Thread the wing for your bow through the tri-glide setup, first through the piece that looks like an 8 then through the piece that looks like a 0.
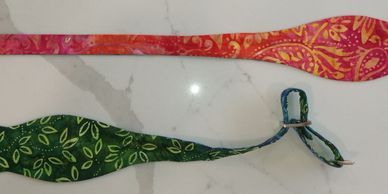
Secure the fastener for the bow wing to the middle of the piece that looks like an 8.
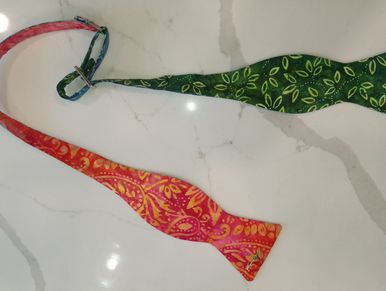
Thread the knot wing through the piece that looks like a 0 and secure the fastener.
Be sure the pattern for the bow is facing opposite the pattern for the knot.

Drape the Octa-Tie around your neck.
The desired bow pattern should be shorter and facing your chest on the left side of your body.
The desired knot pattern should be longer and facing out on your right.
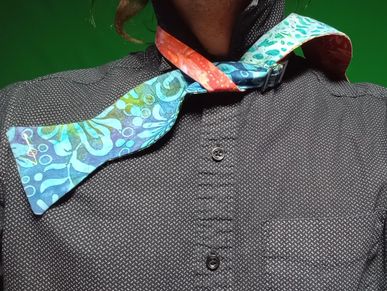
Pull long wing over the shorter, wrap the knot wing under the bow.
Do not twist as you do this.
The knot wing should now be over your shoulder.

Fold the bow across the front.
The desired bow pattern should now be facing forward with the embroidery in the bottom left corner.

Drape the knot wing across the front of the bow.
The knot color should be facing front as well.

Fold the faces of the bow together.
Just above the bow create some slack for a loop.
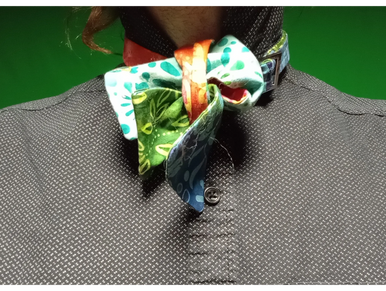
Tuck the middle of the widest part of the wing for the knot through the loop from your left to right.
If you did this right the embroidery for the bow will be in front on your left and the embroidery for the knot will be on your right behind the bow.
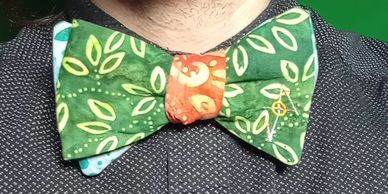
Dress your knot - this means to adjust the way the fabric and knot lie, tighten and adjust as necessary.
*At this stage you can undo the fastener around the tri-glide piece that resembles a 0 and reuse the Octa-Tie without retying it.

If you desire to do so, this is when you can apply advanced knot dressing for an even more unique look.
Spread the wings behind the front bow, twist half of a wing, or some combination of techniques.

Chopstick (or similarly sturdy but thin tapping tool)
Hammer or mallet
Improvised spacers to elevate and support the book binding
Step 1 : Elevate the book binding, assuring that it is supported on both sides of the pin you want to remove.
Step 2 : Align the tool and GENTLY tap the pin through.
*Saving pins for reuse is suggested. Not responsible for damage caused by pin removal.

Things you will need:
Dowel
Painters Tape
Drill
Sandpaper
Hammer
Saw (Pull Saw is Ideal)
Step 1: Get a simple wooden dowel slightly larger than the hole of your book bindings.
Step 2 : Mark a cutting line that is at least an inch and a half longer than the thickness of your books binding.
Step 3 : Cut the dowel piece with your favorite saw - a pull saw is suggested for the close cut in later steps.
Step 4 : Insert the dowel into your drill just tight enough to hold firmly but be careful not to smash the wood fibers too much.
Step 5 : Wrap the sandpaper around the dowel and hold it firmly between you fingers while you run the drill. Go slowly so you do not burn yourself. Wear gloves if you are concerned with injury. Not liable for your accidents or injuries.
Step 6 : When the dowel end is rounded enough to fit snugly into the hole, remove it from the drill.
Step 7 : Align the hole-punched pages of the content you want in your custom book binding.
Step 8 : Assure that your papers fit snugly in the binding - if it is not tight add sheets of scrap paper or cardboard to reinforce the frame.
Step 9 : GENTLY tap the dowel through the binding holes until it reaches the other side.
Not responsible for damage caused to underlying surface, or binding. Take proper support and surface protection precautions!
Step 10 : Use painters tape or something similar of your preference to protect the book binding while you cut the dowel close to the surface.
Step 11 : Sand the dowel top before removing the tape.